


Should You Repair Your Own Surfboard?
Advice from not a professional
Surfboard repair isn’t rocket science…
It is, however, something you need to practice to do with any level of success. There is more than enough content on Youtube for you to learn how to do a solid job and save a couple bucks, if you just spend a little time.
Financially, it makes sense to learn the steps of fixing your own board. A lifetime of dropping damaged goods at the shop will slowly but surely burn a hole in your wallet. Paying a professional like Joe Roper to have a board from the ’70s completely restored makes sense, but paying $50 for a quarter-sized ding you could have fixed in the garage seems a bit unnecessary. The cost of materials for an average-sized ding is significantly less than what most shops would charge for it. I’ve figured out how to do a decent job over the past couple years, and have some tips for anyone looking to do the same.
First and foreskin, you’re gonna need a workspace. This is a rule of thumb for DIY projects in general, not just ding repairs. You don’t need a whole factory to be successful, just a comfortable space to work in. Also, it is essential to get the board off the ground. Use an upside-down ironing board, two bar stools—anything to keep you from fixing it criss-cross applesauce. An uncomfortable position will fry your back and your patience pretty quickly.
The most overlooked aspect of ding repair is preparation. Preparation is key, and every step you skip is gonna bite you in the ass down the road.

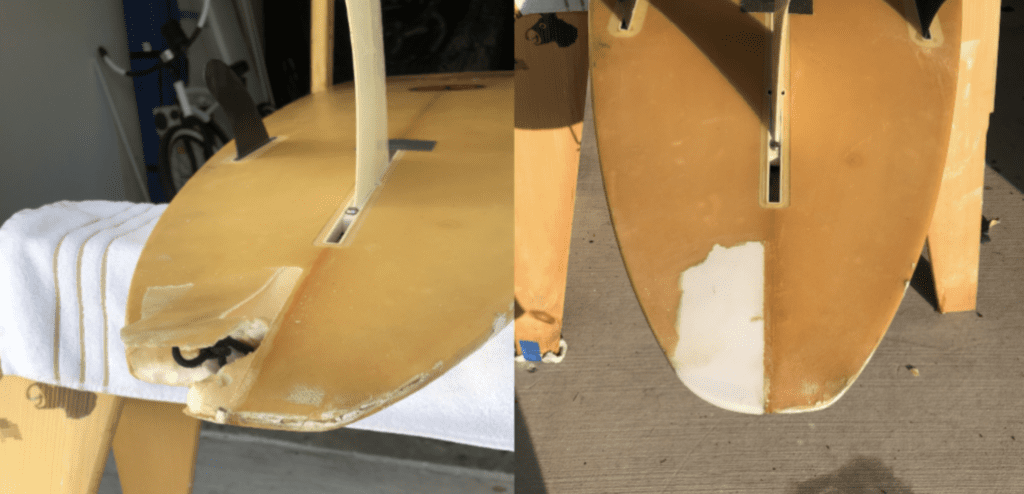
First off, make sure the foam is completely dry. Remove any wet foam, carefully sand the surrounding area, and tape off where necessary. Gutting a board with a switchblade feels naughty at first, but the truth is you’re better off taking out too much than too little.
Lay out measuring cups, an extra set of gloves, mixing sticks, and anything else you may need prior. I know this sounds obvious, but it’s pretty easy to forget the little things. Once the resin is poured, things start to get messy, and you want to make sure every necessary tool is within an arm’s reach.
Wondering what to use? If you’re serious about learning how to fix boards, I would stay away from those all-in-one kits with tiny premixed tubes. It’s not that they don’t work, they’re just better-suited to small, quick fixes on the go. If you want to see progression in your ding repair skills, you’re gonna have to take the training wheels off.
Get yourself some resin and Q-cell filler (Q-cell thickens the liquid resin into a paste and makes it easier to spread). Buying a gallon of resin may seem more costly at first, but you’ll get more bang for your buck. Those little tubes of Suncure may only cost $13, but that’s pretty expensive for the limited amount of repairs they can supply.
For a newcomer, I’d recommend buying resin that kicks in UV light, as it won’t harden unless you expose it to sunlight or a UV flashlight ($11.50 USD on Amazon). This will give you time to work out all the kinks before committing to a time-sensitive polyester or epoxy resin. You don’t need some industrial-grade orbital sander either. While it may cut down on production time, patient hand-sanding will provide the same result with less risk of overdoing it.
How to get started with limited risk to your beloveds? Grab an old board with lingering cracks and fissures and give ding repair a go. The brand new board with a blown fin box should still get dropped at the shop, but the decaying ’90s shortboard in the corner of the garage is an ideal place to start. You’re gonna make mistakes at first, fuck up here and there, but in the end it’s worth it.
If a lousy alcohol-dependent intern can figure it out, you can too.


Comments
Comments are a Stab Premium feature. Gotta join to talk shop.
Already a member? Sign In
Want to join? Sign Up